Like many great app ideas circulating your mind with no idea how to bring it to life, you will need to learn the ropes. Reality is that the process is fairly simple and with the help of a mobile app development company, you will see your vision come to reality.
Let’s start at the very beginning of how to create an app…
Step 1: Set a Goal.
The first step is to understand what you want to accomplish. The starting point in the app development process is noting down the purpose of the app, not complex coding and designing. Answer the following questions:
- What exactly do you want your app to do?
- How are you going to engage the users?
- What problem is the app solving?
- How will it simplify the users life?
It is difficult for any business to survive if they don’t have clearly defined goals. A lack of vision can lead to confusions which are not good for business. Before developing an app, you must be sure about what you want and why
Step 2: Look for a mobile app development company and provide details
Once you have the answers to all the questions in Step 1. You can hire a mobile app development company and provide a list of features you would like to incorporate in the app along with a context and the purpose it will solve.
Step 3: Sketch the idea
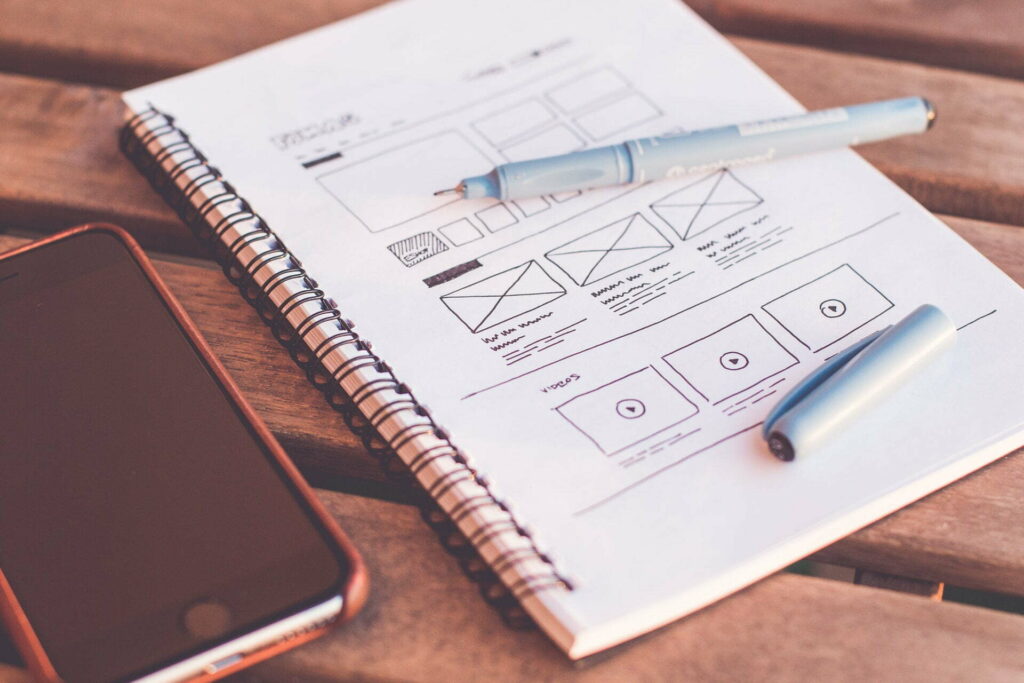
The mobile app company will go through the questions about your apps purpose to develop a sketch. It is a rough sketch of what the app will look like just to put the idea into a visual representation.
Step 4: Wireframe
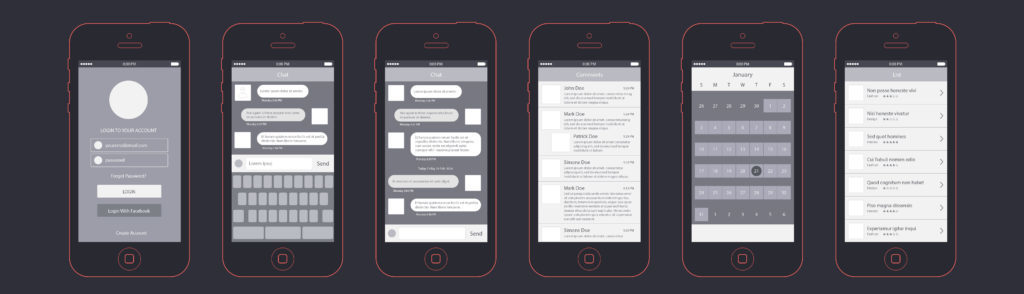
At this step, you take the idea and you it a little more clarity and functionality. Wireframe will become the foundation for your app development which makes it a crucial step. All the designs, functionality and any further development will be based on the wireframes.
Step 5: Start Defining the Back End of Your App
Now it’s time to use the wireframes and start examining the functionality. Using the wireframe, the team will delineate servers, APIs and data diagrams.
Regardless of the method we decide to use to develop the app, it is important to create clear diagrams as they will serve as directions for everyone working on the project. If you run into some technical difficulties, you can always revise your wireframes.
Step 6: Finalize the app architecture
The end goal with this step is to finalize the structure and foundation of the app. You need to have the app architecture ready before you start adding design to avoid confusion later in the process.
Step 7: Get Building
With the app foundation in place, you can start building the app. The first thing to do is set up servers, databases and APIs. Create accounts of APIs required for the app and Sign up Google Play Store and Apple Store. It may take a few days, but keep them ready.
Step 8: Design the Look
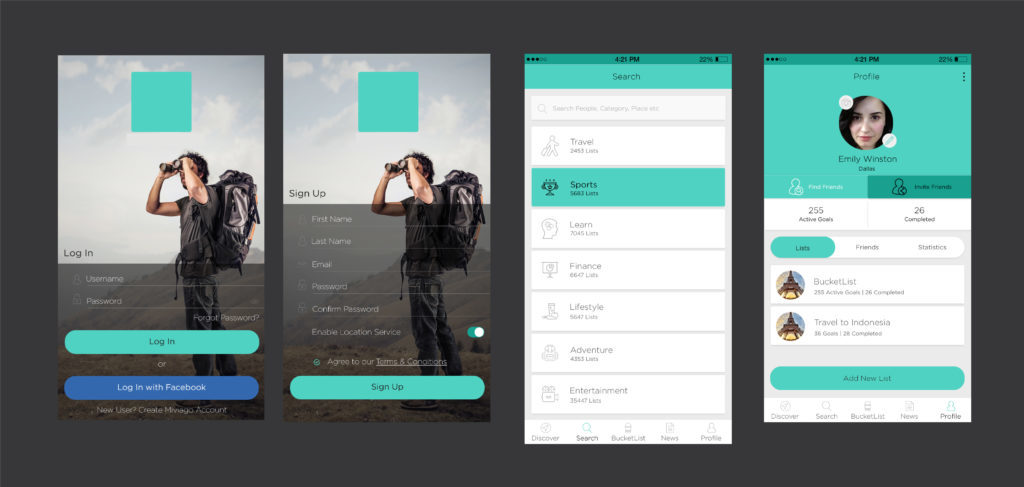
Now its time to tell the designers to create UI and UX for the app. User interface is an important part of the app as people are attracted to how things look and feel. They look for good color themes in app, something that looks good to eye and easy to navigate. For appealing designs, the designer will be using high resolution images.
Through the design process, you need ensure that the user experience that you are providing is top notch. The designer must keep in mind that he/she is designing for the user.
Step 9: Start development
Once the designs are approved, app development should start. The development will take 2-3 months depending on the complexity of the app. The developer will ensure that all screens should be developed as per the design provided by the designer and all acceptance criteria is met as per the user stories.
At this point, unit testing is done by the developer to ensure that they have developed according to designs.
Step 10: Testing
Now that the app is in it’s fully functioning form, it will be tested by the quality analyst and a list of bugs will be provided to the developer for fixing.
The same process for testing will be repeated a few more times till all the bugs have been fixed and the app is testing on all platforms and all screen sizes.
Step 11: Beta Testing
Now you’ve looked at the app through several different lenses, and think you’ve managed to develop a smoothly functioning, aesthetically pleasing, problem solving app. Now, we need to examine how your app is going to function in a live environment.
You can simply upload your app file on any android device and test it in a live environment. From here on out in your Android app development process, you can monitor your apps progress from your device.
iOS requires you use a platform called TestFlight to beta test your app. Apple is pretty thorough with its directions and instructions for using its beta test platform. A great feature to this beta testing option is that you can invite testers to review your app before taking it live. I
Step 12: Release Your App
The last step is to share your idea with the world. Now it’s time to distribute it. You can simply app your app to the Android store which will be added instantly to the Google Play store. However, with iOS, submitting an app means getting it reviewed before it can go live. While there is no set time frame for the Apple team to review your app, you can expect about a week of waiting.